


How to Use a Bone Collection Tool Kit: A Step-by-Step Guide for Dental Professionals
Mastering the Bone Collection Tool Kit: Expert Techniques for Optimal Autogenous Bone Harvesting
Understanding the Bone Collection Tool Kit: Components and Their Functions
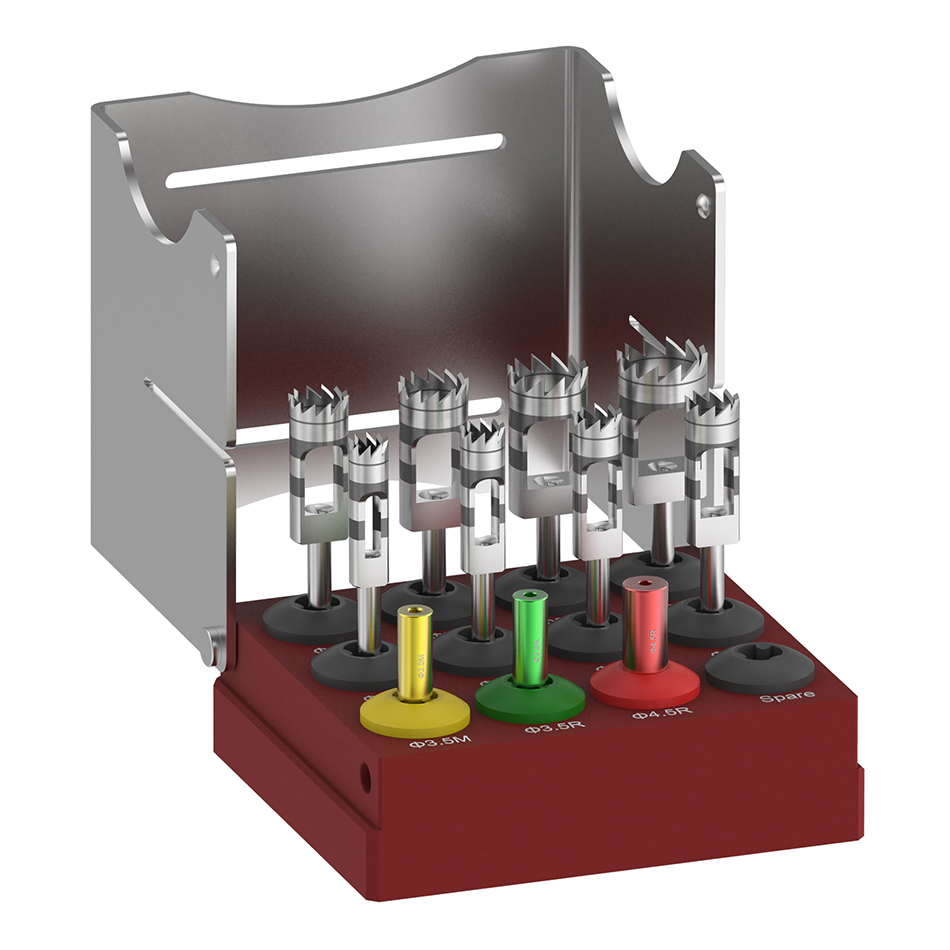
A bone collection tool kit is a specialized instrument set designed to harvest, collect, and retain autogenous bone particulate during implant osteotomy preparation and other bone grafting procedures. Unlike conventional drills that disperse bone debris into the suction line, these kits are engineered to capture and preserve valuable autologous material for immediate grafting.
Bone Chip Maker Drills (Bone Collectors)
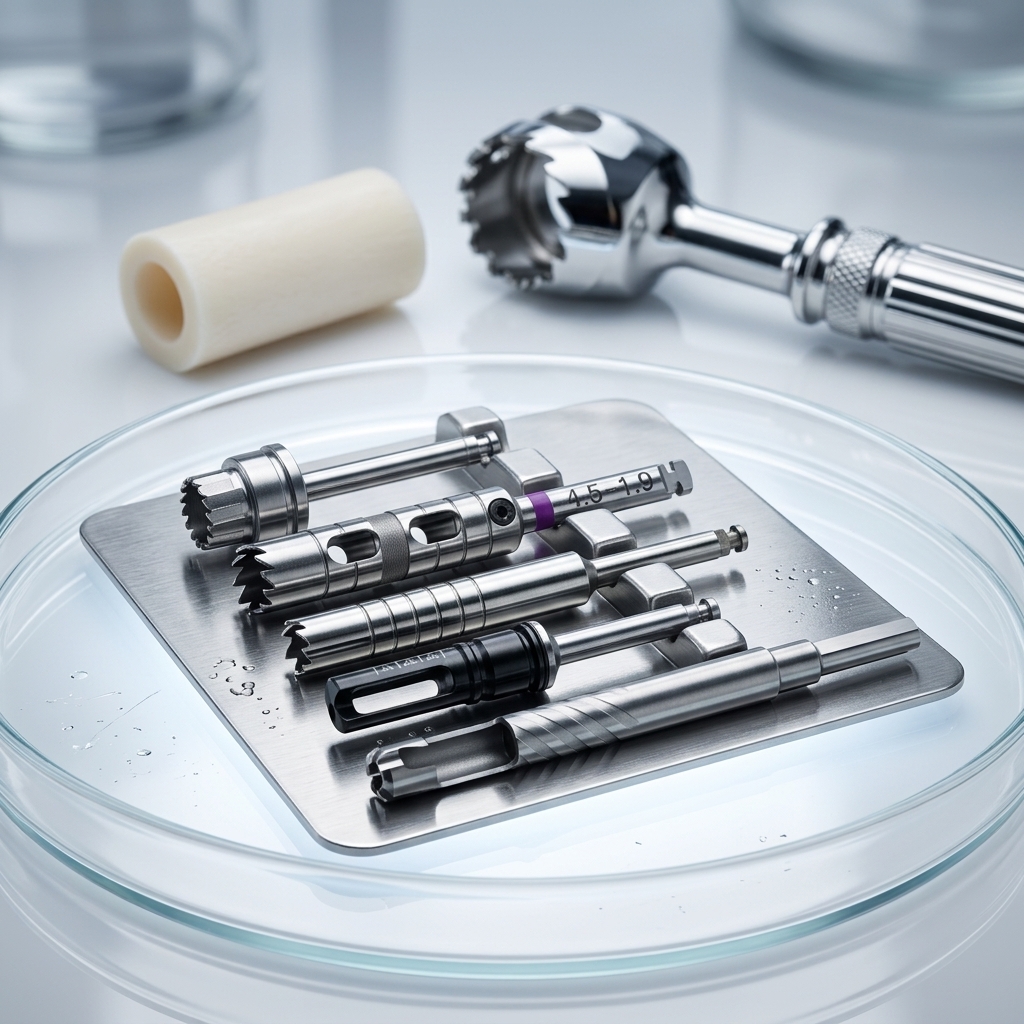
The Bone Chip Maker drill is the core component of the kit. These hollow, cylindrical drills feature a specially engineered point shape and cutting geometry that maximizes bone chip generation while minimizing heat production. The hollow interior serves as a collection chamber, where bone particles accumulate during drilling.
The cutting-edge design of modern bone collector drills—such as the protruding front-end point and thin twin-cutting blades found in systems like the Osstem Autobone Collector—ensures minimal vibration and stable engagement at the start of drilling, reducing the risk of slippage. Some systems, like the NeoBiotech ACM Auto Chip Maker, can harvest up to 1cc of autogenous bone within just 10 seconds of drilling.
Depth Control Stoppers
Stoppers are friction-fit attachments that slide onto the drill shaft to limit penetration depth. They are indispensable for surgical safety and procedural consistency. Most kits include stoppers in multiple sizes, typically ranging from 2mm to 10mm, allowing the clinician to match the harvesting depth to the bone thickness at the donor site.
Research confirms that drill-stop systems provide significantly greater depth accuracy compared to drilling without stops, with accuracy levels comparable to prefabricated drills with integrated stops. For initial use, a 5mm stopper is strongly recommended as a conservative starting depth.
Bone Ejectors and Retrieval Tools
After drilling, the harvested bone chips are packed inside the hollow drill chamber or within the stopper cavity. Dedicated bone ejectors or removal tools are provided to gently push the collected particulate into a sterile collection dish without damaging the graft material. Some systems also incorporate transparent silicone shields that allow real-time visualization of bone accumulation within the collection chamber.
---
Preparing the Bone Collection Tool Kit for Surgery
Proper preparation before bone harvesting is essential for both sterility and procedural success.
Sterilization and Assembly
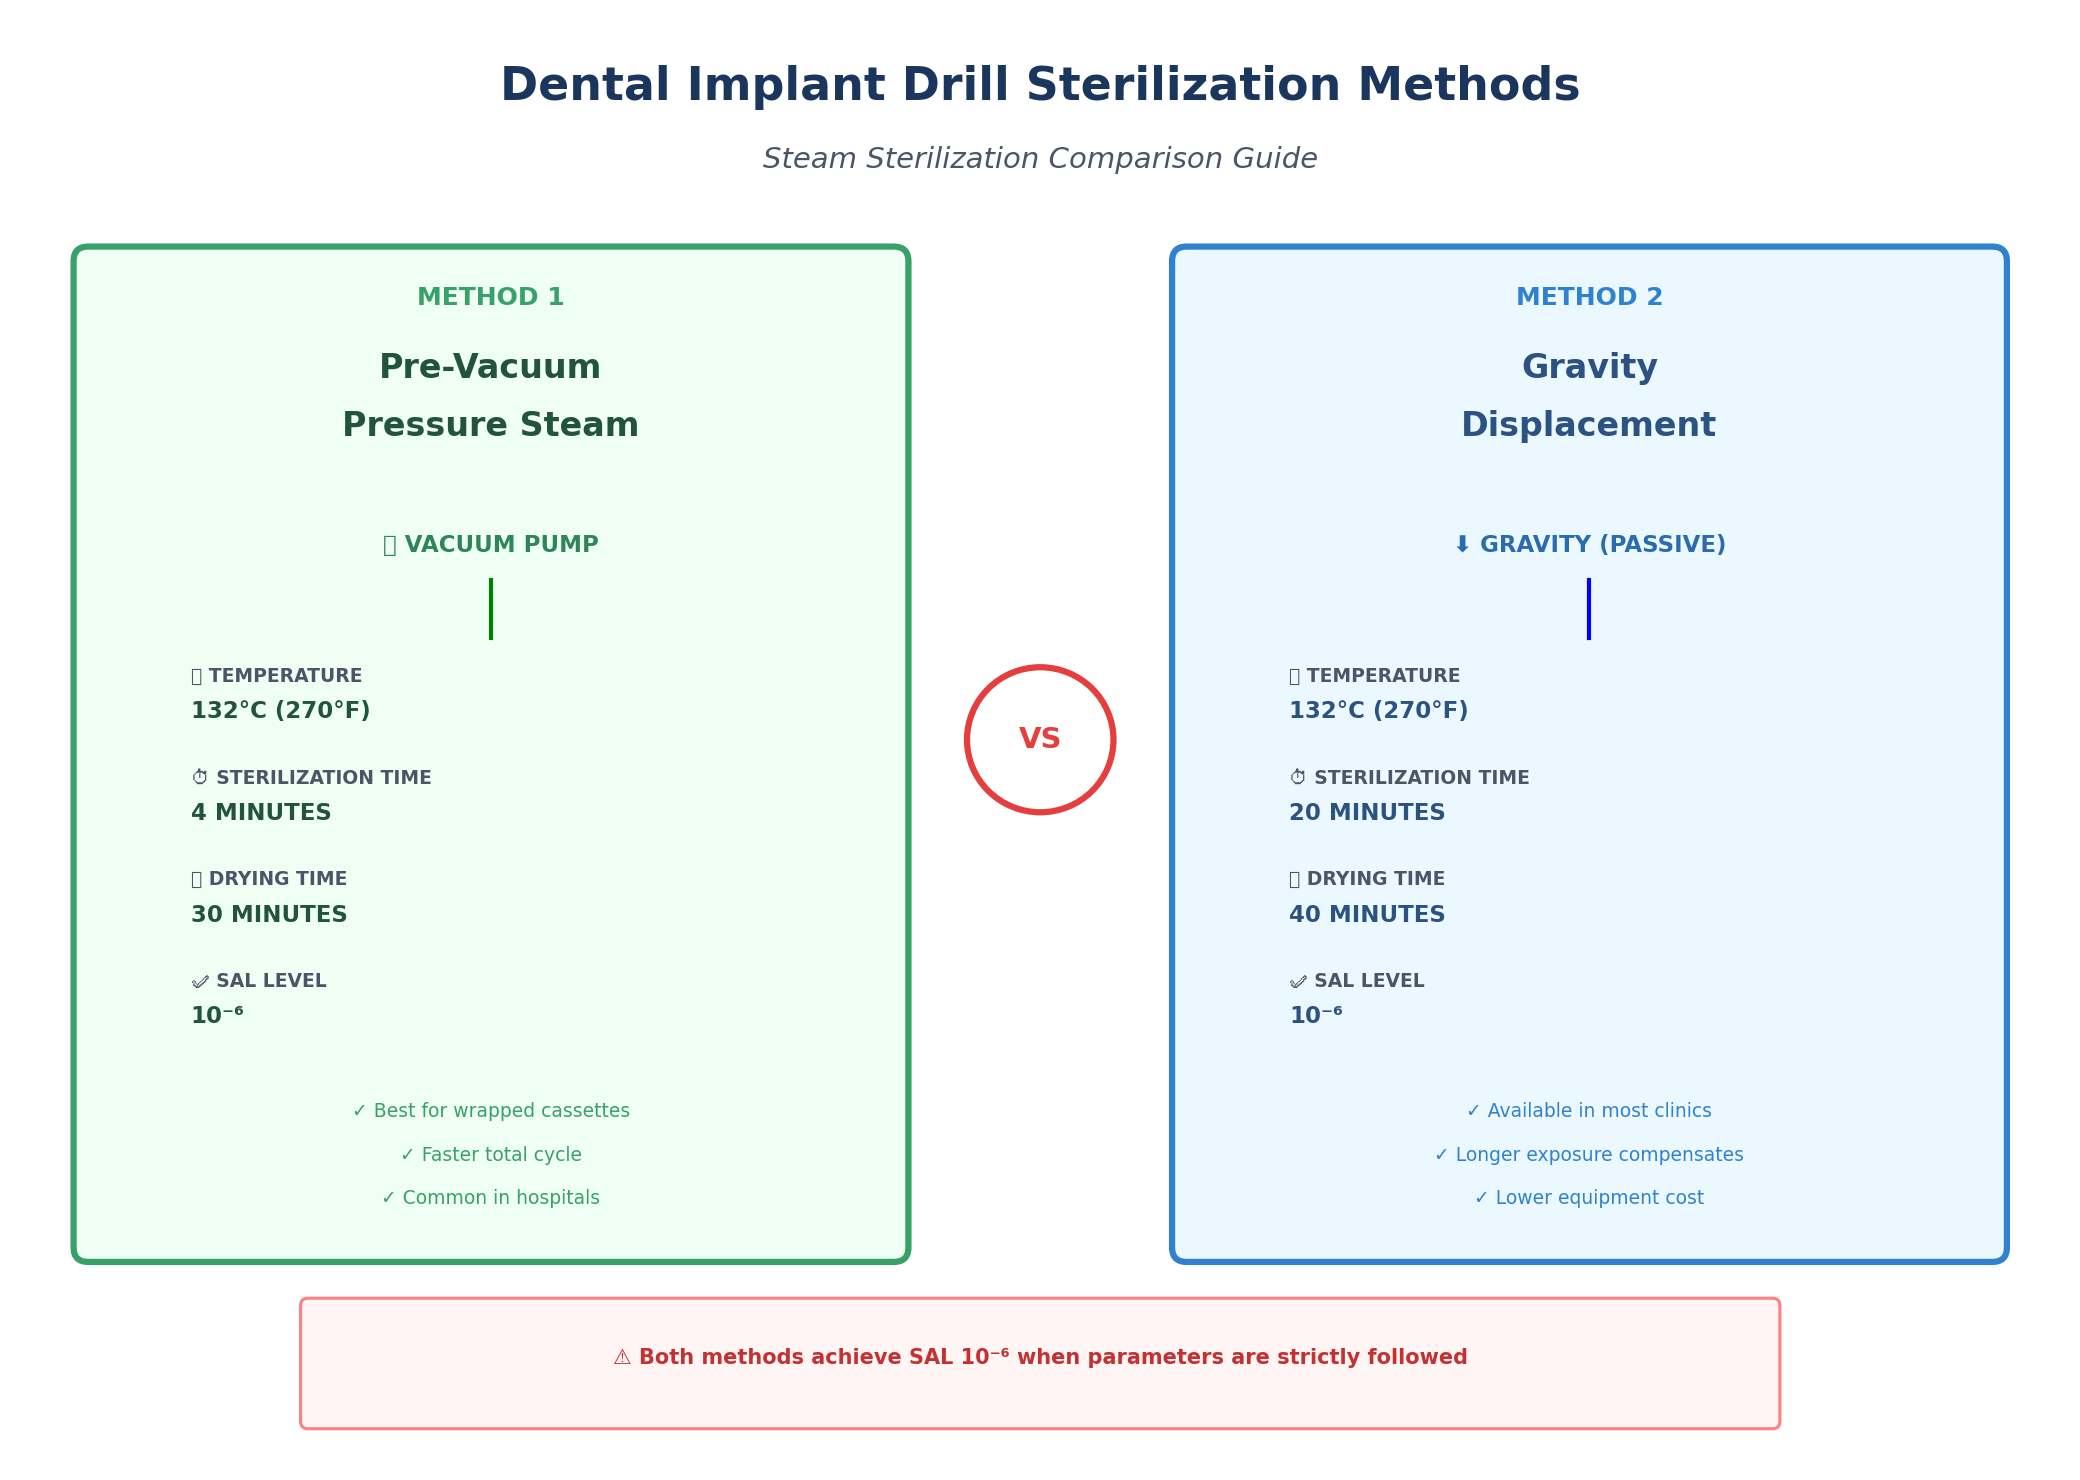
Before each use, separate the drill and stopper components and sterilize them according to manufacturer guidelines, typically using an autoclave. Bone collector kits are constructed from high-quality medical-grade stainless steel, ensuring durability, corrosion resistance, and compatibility with standard sterilization protocols.
Selecting the Appropriate Drill and Stopper
Choose the Bone Chip Maker drill diameter based on the size of the intended bone collection area and the grafting volume required. Smaller diameters are suitable for limited defects, while larger diameters harvest more bone per drilling pass. Next, select the corresponding stopper size. For initial procedures or when working with thin alveolar ridges, a 5mm stopper provides a safe entry depth. More experienced clinicians may adjust to 2mm, 7mm, or 10mm stoppers as the clinical situation dictates.
Setting Up the Surgical Handpiece
Attach the assembled drill-stopper unit to a surgical implant handpiece. The handpiece should be capable of delivering the recommended torque (over 50Ncm) and precise speed control. Before approaching the patient, verify that the stopper is fully seated and secure.
Step-by-Step Protocol for Harvesting Autogenous Bone
This section outlines the clinical sequence for effective bone chip collection.
Step 1 – Site Marking and Initial Positioning
Use a point drill or the sharp tip of the bone collector drill to mark the intended harvesting site on the cortical bone surface. This initial engagement prevents drill wandering and ensures accurate placement. Position the drill perpendicular to the bone surface to achieve uniform depth and optimal chip formation.
Step 2 – Depth Control with Stoppers
Attach the desired stopper to the Bone Chip Maker drill. For first-time users or when harvesting from thin bone regions, a 5mm stopper is strongly recommended. This depth provides adequate bone volume while minimizing the risk of perforating into underlying anatomical structures. The stopper acts as a physical barrier, automatically halting forward progress once the preset depth is reached.
Step 3 – Drilling Parameters: Speed and Irrigation
Set the surgical handpiece to 500 RPM. This rotational speed has been validated as optimal for balancing efficient bone cutting with thermal safety. Start drilling while simultaneously delivering 1cc of sterile saline irrigation directly to the drill-bone interface.
The irrigation serves two critical functions: cooling the surgical site to prevent thermal osteonecrosis, and flushing debris away from the cutting flutes to prevent clogging. External irrigation is the single most important factor in maintaining bone temperature below the critical threshold of 47°C, above which irreversible bone necrosis occurs. Without adequate irrigation, temperatures can exceed 55°C, compromising graft viability and implant osseointegration.
Step 4 – Drilling Technique and Bone Chip Collection
Apply light, controlled pressure as the drill advances. The hollow interior of the Bone Chip Maker drill will progressively fill with autogenous bone chips during the drilling pass. Avoid aggressive force or excessive speed, as this can generate excessive heat, scatter collected bone, or damage the cutting edges. The specialized point geometry of bone collector drills is designed to capture large volumes of bone while minimizing loss.
Throughout drilling, periodically verify that the stopper remains fully attached and that bone is visibly accumulating within the collection chamber. Some systems incorporate transparent shields that allow direct visualization of the filling process.
Step 5 – Retrieving the Harvested Bone
Once drilling is complete, withdraw the drill assembly from the surgical site. Carefully separate the stopper from the drill shaft. The bone chips will be packed either inside the hollow drill chamber or within the stopper cavity, depending on the specific kit design. Use the supplied bone ejector or removal tool to gently push the collected autogenous particulate into a sterile bone dish or dappen pot.
For maximum yield, some clinicians employ a two-step harvesting technique: drill to approximately 4mm depth, retrieve and empty the collected bone, then drill an additional 3mm (total 7mm) from the same site to capture a second volume of chips.
---
Key Technical Parameters for Successful Bone Harvesting
Precision in drilling parameters directly correlates with graft quality and volume.
Recommended Rotational Speed: Why 500 RPM
The optimal drilling speed for bone collection kits is 300–500 RPM, with 500 RPM being the most frequently recommended setting for experienced clinicians. This moderate speed range achieves several objectives: it generates sufficient cutting torque to harvest bone efficiently; it produces manageable heat levels that can be adequately controlled with irrigation; and it prevents the high-velocity scattering of bone particles that occurs at speeds exceeding 800 RPM.
For less experienced users, a slower speed of 300 RPM is advisable, as it provides greater control and a wider margin of thermal safety. Speeds below 300 RPM may compromise cutting efficiency and bone chip quality.
Irrigation Volume and Technique
A minimum of 1cc of sterile saline should be delivered continuously during the entire drilling sequence. The irrigation stream should be directed precisely at the drill-bone contact point. External irrigation is the most important cooling factor, and when properly applied, it maintains bone temperature safely below 47°C even at higher drill speeds.
Some clinicians raise the question of whether irrigation can be omitted to prevent scattering of harvested bone. However, the thermal risks far outweigh any minor loss of particulate. Without irrigation, bone temperatures can rise above the critical necrosis threshold, rendering the harvested graft biologically compromised. Modern bone collector designs, featuring thin twin-cutting blades, facilitate effective irrigation flow even during active drilling.
Depth Management with Stoppers
Depth stoppers are available in configurations ranging from 2mm to 10mm. For initial harvesting, a 5mm stopper provides the optimal balance between graft volume and anatomical safety. The stopper system allows the clinician to control drilling depth with high precision, which is particularly valuable when harvesting from thin alveolar ridges or in proximity to critical structures like the inferior alveolar nerve or maxillary sinus.
---
Clinical Applications of Harvested Autogenous Bone
The bone chips collected using a Bone Collector Kit have immediate clinical utility.
Guided Bone Regeneration (GBR)
Harvested autogenous bone chips are ideal for filling peri-implant defects, socket preservation, and ridge augmentation procedures. When mixed with the patient’s blood or platelet-rich fibrin (PRF), the graft material becomes highly osteogenic and readily integrates with the host bed.
Sinus Lift Procedures
During sinus floor elevation, autogenous bone harvested from the tuberosity or ramus can be used as the primary grafting material or as a biologic additive to xenogeneic or alloplastic bone substitutes.
Immediate Implant Placement
When placing implants into fresh extraction sockets, the collected autogenous bone chips can be packed around the implant neck to fill any circumferential defects, promoting osseointegration and reducing the need for secondary grafting procedures.
---
Troubleshooting Common Challenges in Bone Harvesting
Even experienced clinicians may encounter obstacles during bone collection.
Insufficient Bone Yield
If the harvested volume is inadequate, consider using a larger diameter drill, performing multiple passes from adjacent sites, or employing a two-Step Drilling technique (4mm initial depth followed by an additional 3mm). Low-speed drilling is a recommendable first-line option; if the quantity remains insufficient, bone shavings obtained by a scraper may be considered as a secondary source.
Bone Scattering and Loss
Excessive scattering typically results from overly aggressive drilling speeds (above 800 RPM) or inadequate stopper engagement. Ensure the stopper is fully seated before initiating drilling. Some systems incorporate silicone shields or V-shaped openings to prevent splatter during active drilling.
**H3: Overheating and Thermal Necrosis**
If the bone chips appear discolored (darkened or charred) or emit a burnt odor, thermal damage has occurred. Immediately reduce drill speed, increase irrigation volume, and shorten the duration of each drilling pass. Short, intermittent drilling sequences generate less cumulative heat than continuous, prolonged drilling. Remember that temperatures above 47°C for just one minute can cause irreversible osteonecrosis.
---
Post-Harvesting Handling and Graft Preparation
The biologic quality of harvested bone is preserved through proper handling.
Immediate Grafting vs. Storage
For optimal outcomes, harvested autogenous bone should be used immediately. The graft material retains maximum cellular viability and growth factor activity when transferred directly from the collection dish to the recipient site. If immediate use is not possible, the bone chips can be stored in sterile saline on a moistened gauze for brief periods, but prolonged storage degrades graft quality.
Mixing with Adjunctive Materials
Autogenous bone chips can be combined with xenogeneic or alloplastic bone substitutes to extend graft volume while preserving biologic activity. A typical ratio is 50:50 autogenous to synthetic material. Mixing with platelet-rich fibrin (PRF) or the patient’s blood further enhances the osteogenic potential of the graft.
Sterilization and Reuse of Kit Components
Bone Collector Kits are typically reusable. After each procedure, disassemble all components, thoroughly clean them to remove all organic debris, and sterilize according to the manufacturer’s instructions. High-quality stainless steel construction ensures that the instruments maintain their cutting sharpness and structural integrity through multiple sterilization cycles.
---
Conclusion
Mastering the use of a bone collection tool kit is an essential competency for dental implant surgeons seeking to optimize outcomes in guided bone regeneration. By understanding the function of each component—the Bone Chip Maker drill, depth-controlling stoppers, and retrieval tools—and adhering to evidence-based parameters (500 RPM, 1cc saline irrigation, 5mm initial depth), clinicians can reliably harvest high-quality autogenous bone chips with minimal graft loss and no thermal compromise.
The harvested autogenous material, with its superior osteogenic properties, serves as the ideal biologic scaffold for ridge preservation, sinus augmentation, and peri-implant defect filling. When integrated into a consistent clinical workflow, the bone collection tool kit transforms what was once discarded surgical debris into a valuable, patient-specific grafting resource—advancing both surgical efficiency and regenerative outcomes.