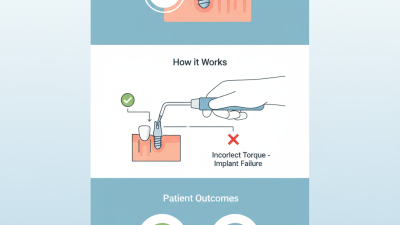
Using a Dental Torque Wrench might seem like a small step during a procedure, but it actually has pretty big implications. It’s essential for applying just the right amount of force when tightening implant components. Relying on hand pressure alone doesn’t cut it—it’s tough to get that consistent torque every time. Even a tiny difference, like a couple of Newton-centimeters, can really impact screw stability, how well the prosthetic fits, and how it holds up over time.
Dr. Carl E. Misch once pointed out that centric (or prosthetic) phase is the most critical part of implant dentistry. His words remind us why controlling torque carefully is so important. A properly calibrated Dental Torque Wrench should always match the manufacturer’s instructions for your specific implant system. Make sure to inspect your driver before use, double-check the torque setting, and fully seat the tool onto the screw head—don’t rush this step. A crooked driver can give misleading resistance readings or even cause damage to delicate surfaces.
It sounds straightforward on paper. In real clinics, things often aren’t perfect. Instruments get dropped, cleaned multiple times, or stored improperly. Calibration can easily be overlooked. That’s why it’s crucial to honestly evaluate your tools before use—check their condition and confirm they’re calibrated correctly. When tightening, apply steady, even pressure until the mechanism releases or signals that the preset torque has been reached. And whatever you do, don’t treat that release as a cue to tighten even more; that defeats the purpose.
You’ll notice the term Torque Dental Implant Torque Wrenchoften pops up when shopping around. But picking the right one isn’t just about the keywords—there’s more to it. This guide walks you through handle design, calibration, compatibility with different drivers, cleaning tips, and common mistakes users make. It’s meant to help you use a Dental Torque Wrench confidently, ensuring your implant procedures are consistent and precise—without replacing your judgment or the manufacturer’s instructions.
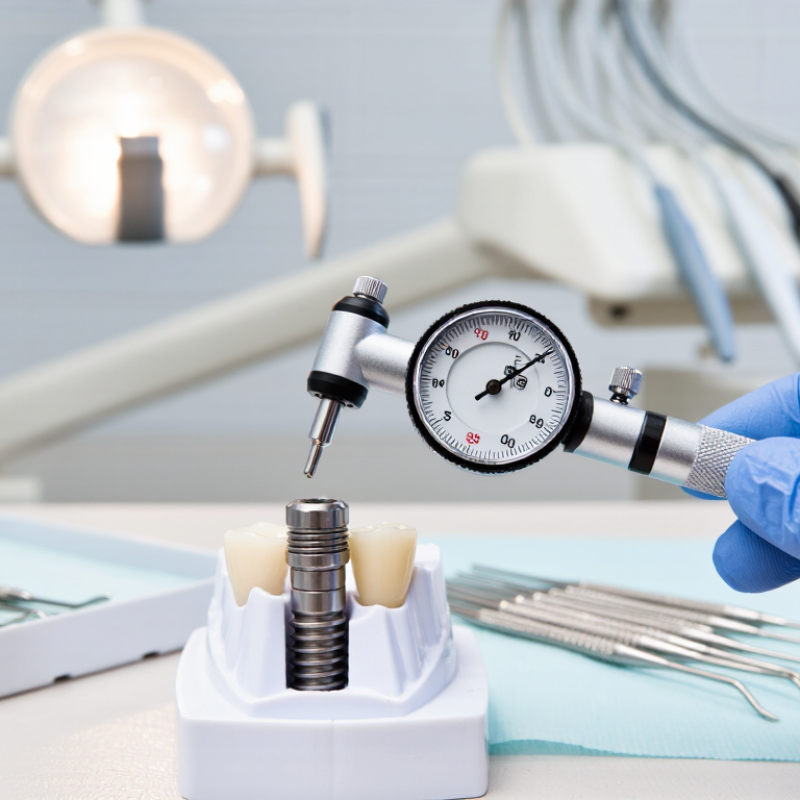
How to Use a Dental Torque Wrench?
Identify the Dental Torque Wrench and Its Components
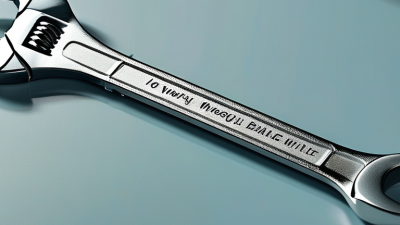
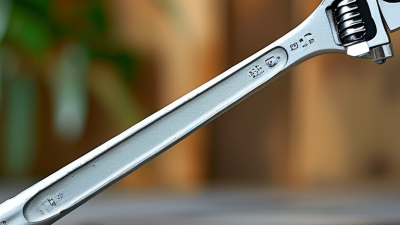
A dental torque wrench is a calibrated hand instrument for tightening restorative or implant components. Its purpose is controlled force, not extra strength. The main parts include the handle, torque scale, adjustment collar, drive head, and socket. Some models also have a ratchet selector or a release button.
Hold the wrench under good lighting and inspect its markings. The torque scale may appear as a window, numbered ring, or sliding indicator. Confirm that the selected value uses the correct unit, such as N·cm. The drive head must match the intended driver. A loose connection can cause inaccurate tightening. It is easy to overlook this small detail.
The handle provides grip and balance during use. The adjustment collar sets the required torque. Inside the head, a spring-loaded mechanism limits force after reaching the preset value. You may hear or feel a click. Do not continue turning after that signal. I still pause before use because a clean-looking wrench can have a missed calibration date. That is an uncomfortable but useful reminder.
Check the instrument for damaged threads, worn markings, corrosion, or a stiff mechanism. Keep the socket fully seated on the component. Follow the procedure supplied for that specific system and use the wrench only after proper clinical training. A torque wrench is precise, but it is not self-correcting. Calibration records, careful handling, and a final visual check support reliable results.
Before using a dental torque wrench, confirm its compatibility with the implant system and prosthetic component. Check the connection type, torque range, and measurement units. A wrench may look universal but still fit poorly. The phrase “Universal Torque Wrench Dental Implants” can be misleading. Implant systems often require specific drivers and calibrated instruments. Read the current manufacturer instructions carefully. Do not rely on memory or a similar-looking tool.
Inspect the wrench for damage, contamination, or a stiff adjustment mechanism. Confirm its calibration status before clinical use. Set the recommended torque while holding the wrench at eye level. Attach the correct driver fully, then apply steady pressure until the release mechanism activates. Avoid sudden force. Excessive torque can damage threads, while insufficient torque may affect component stability. Sterilize the instrument only as instructed. Some cleaning methods can reduce accuracy or damage internal parts.
Tips: Keep the instruction sheet near the treatment area. Verify the unit, such as Ncm, before setting torque. Never substitute an unverified driver. If the release feels unusual, stop and inspect the tool. A small pause prevents a larger problem. Compatibility checks can feel repetitive, but skipping one is an avoidable mistake. Recheck uncertain steps with the dental manufacturer or a qualified clinical supervisor.
Select the correct torque value before touching the wrench. Use the implant or abutment manufacturer’s instructions and the procedure plan, not memory. Torque values often range from 10 to 35 Ncm, but the correct setting depends on screw design, material, and connection geometry. A higher number is not safer. Excessive torque may deform threads or damage the connection. Too little torque can reduce preload and encourage loosening.
Clinical evidence supports caution. A systematic review of implant-supported fixed prostheses reported an estimated 8.8% technical complication rate after five years. Screw loosening was among the recorded problems, although torque was not the only cause. Check the wrench’s calibration status under ISO 6789:2017 principles. Inspect the driver, seat the screw fully, and apply force slowly until the release mechanism clicks. Keep your hand aligned with the wrench.
Small details matter. Do not “add a little extra.” I have seen clinicians repeat the click, thinking it improves security. It may change the applied load instead. After tightening, verify the final value and record it in the patient’s chart. Recheck the connection when the clinical protocol requires it. The uncomfortable truth is that torque selection is not perfectly transferable between systems. When documentation is unclear, stop and confirm the value with qualified technical or clinical guidance.
A Dental Torque Wrench helps apply controlled force when securing a dental component. Before use, confirm the required torque in the procedure guide or component instructions. Select the correct driver for the connection. A driver that feels “almost right” is not safe enough.
Insert the driver into the wrench until it seats completely. Check that the locking mechanism is engaged. Place the driver straight onto the component, keeping the handle aligned with its central axis. Hand-tighten the component first, if the clinical protocol allows it. Then apply slow, steady pressure until the wrench reaches its preset torque. Do not add force after the release signal. Extra pressure may damage the connection or affect component stability. In practice, alignment is easy to underestimate, especially in a narrow posterior area. I have learned that a small angle can change the feel of the final turn.
Tips: Inspect the driver for wear, debris, or deformation before attachment. Clean and sterilize the wrench according to approved instructions. Verify calibration at the recommended intervals. Keep the driver fully seated during tightening. If the wrench releases too early or feels inconsistent, stop and report it for inspection. Never compensate for uncertainty with more hand pressure. Clear steps matter.
Using a Dental Implant Torque Wrench requires control, not force. Confirm the prescribed torque value in the implant system’s instructions and clinical plan. Check that the driver fits the prosthetic screw fully. A loose fit can distort the reading or damage the screw head. Keep the wrench clean, dry, and properly assembled. Calibration matters. It is easy to overlook.
Seat the driver along the screw’s long axis. Hold the handle lightly, then apply torque slowly until the set value is reached. Do not jerk, twist sideways, or add a tube for leverage. Watch the scale or listen for the release mechanism, depending on the wrench design. Stop immediately at the target setting. Continuing after release may transfer excess force to the screw, implant connection, or surrounding components. In clinical handling, slow movement makes resistance easier to feel near the final part of the turn. That short pause can prevent over-tightening.
Use the wrench only within its marked range, and reset or store it as instructed after use. Never estimate torque by hand. Document the value, component, and any unusual resistance. If the wrench behaves inconsistently, remove it from service and arrange professional calibration. Rushed setup often causes more uncertainty than tightening itself. The method seems simple, but it demands attention. Consult a qualified clinician when anatomy, component compatibility, or the prescribed value is unclear.
Before applying torque, inspect the connection under bright light. The driver must seat fully inside the implant component, without rocking or visible gaps. A Multi Setting Dental Implant Torque Wrench can support different procedures, but its scale does not replace clinical judgment. Confirm the prescribed torque in the implant system’s instructions and check that the wrench setting has not shifted.
Pause there. Feel the fit.
The CDC’s dental infection-control guidance classifies instruments entering soft tissue or bone as critical items, requiring heat sterilization when possible. After use, remove the driver and rinse away blood or debris before it dries. Do not soak the complete wrench unless its instructions permit immersion. Wipe the handle and joints with an approved detergent, then use a soft brush around the adjustment mechanism. Harsh chemicals may damage internal parts. Small details matter.
Dry every surface before sterilization. Moisture can encourage corrosion and may affect movement. ISO 6789:2017 provides a framework for torque-tool calibration and verification, supporting scheduled performance checks rather than relying on appearance alone. Many clinics verify torque tools at least annually, while heavy-use settings may need shorter intervals. That interval is not universal. Usage, sterilization cycles, and previous drops should influence the decision. I would record the setting, sterilization cycle, and any unusual resistance after each procedure. A clean wrench can still be inaccurate. Calibration records expose that uncomfortable possibility.
| Step | Procedure | What to Verify | Acceptance Criteria | Recommended Timing |
|---|---|---|---|---|
| 1. Inspect the wrench | Examine the body, torque scale, drive head, ratchet mechanism, and detachable components before use. | Look for cracks, corrosion, contamination, loose parts, unreadable markings, or restricted movement. | The wrench is intact, clean, legible, and operates smoothly without abnormal resistance. | Before every procedure |
| 2. Confirm the required torque | Identify the correct torque value from the applicable component or implant system instructions for use. | Confirm that the selected value matches the screw, abutment, prosthetic component, and clinical indication. | The torque value is documented and falls within the wrench’s specified operating range. | Before setting the wrench |
| 3. Set the torque | Adjust the handle or setting mechanism until the selected value aligns precisely with the reference mark. | Check the scale at eye level and ensure the setting mechanism is fully locked, if applicable. | The setting is clearly aligned, secure, and not positioned between scale markings. | Immediately before tightening |
| 4. Attach the driver | Insert the compatible driver or bit into the wrench head and connect it to the screw or component. | Verify complete insertion, correct fit, axial alignment, and stable engagement with the connection. | The driver is fully seated and does not wobble, slip, or disengage during gentle hand positioning. | Before applying torque |
| 5. Apply torque | Hold the wrench in line with the screw axis and apply steady force in the specified direction until the torque-release signal occurs. | Listen and feel for the wrench’s release or indication; avoid sudden, repeated, or excessive force. | The wrench reaches the preset value without visible damage, slipping, or uncontrolled rotation. | Once for the prescribed tightening sequence |
| 6. Verify the connection | Check the final connection visually and confirm that the component is fully seated and stable. | Look for gaps, rocking, cross-threading, damaged screw heads, or incomplete seating. Confirm the applied torque in the clinical record when required. | The component is fully seated, aligned, and free from visible damage or movement. | Immediately after tightening |
| 7. Remove visible soil | Separate removable components when permitted and remove blood, saliva, and debris using a soft, non-abrasive method. | Pay attention to the drive head, joints, threads, scale markings, and internal openings. | No visible organic material remains, and the scale and moving parts are unobstructed. | As soon as possible after use |
| 8. Clean and rinse | Clean according to the wrench manufacturer’s validated instructions, using an approved detergent and method. Rinse thoroughly if required. | Ensure that cleaning agents are compatible with the wrench materials and that no residue remains. | All accessible surfaces are clean, rinsed as specified, and free of detergent residue. | After every use |
| 9. Dry and inspect | Dry the wrench completely with a clean, lint-free material or the approved drying process, then inspect it again. | Check for trapped moisture, corrosion, damaged markings, loose parts, or changes in the mechanism. | The wrench is visibly dry, undamaged, and ready for sterilization or storage according to its instructions. | After cleaning and before sterilization or storage |
| 10. Sterilize and store | Use only a validated sterilization cycle approved for the instrument. Store the dry wrench in a clean, protected area. | Confirm packaging integrity, cycle documentation, and protection from impact, moisture, and contamination. | The instrument remains dry, protected, traceable, and available for the next inspection. | After each required reprocessing cycle |
| 11. Maintain accuracy | Follow the manufacturer’s calibration, maintenance, and inspection schedule. Remove the wrench from service if accuracy or function is uncertain. | Review calibration status and check whether the wrench has been dropped, overloaded, corroded, or used outside its specified range. | Calibration is current, operation is consistent, and service records are complete. | At the specified interval and after suspected damage |
External sinus lifting is a predictable option when posterior maxillary bone height is insufficient for implant placement, but success depends on careful planning and controlled membrane elevation. Published systematic reviews commonly report implant survival rates above 90% in augmented posterior maxillae, while sinus membrane perforation rates vary widely—approximately 7% to 44%—depending on residual bone height, membrane anatomy, surgical technique, and operator experience. For this reason, preoperative CBCT evaluation should assess sinus septa, membrane thickness, available bone, and the planned implant position.
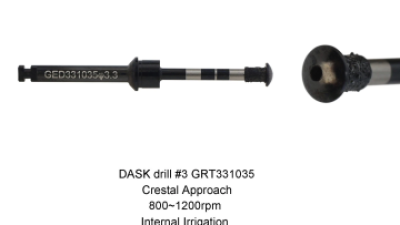
A practical external-lift protocol begins with a conservative lateral window and progressive osteotomy preparation. Internally irrigated sinus-lifting drills help control heat and remove bone efficiently, while their irrigation design creates gentle hydraulic pressure during drilling. This pressure can assist in separating and supporting the Schneiderian membrane, reducing direct mechanical stress when the osteotomy approaches the sinus floor. Clinicians should use sequential drill sizes, moderate speed, continuous irrigation, and frequent visual or tactile checks rather than relying on force. Professional consensus documents also emphasize sterile handling, management of sinus pathology before surgery, and individualized graft selection. With appropriate case selection and controlled instrumentation, hydraulic sinus-lifting drills can contribute to safer, more repeatable implant procedures.
It applies controlled force when tightening restorative or implant components. It is not designed for extra hand strength.
Check the handle, torque scale, adjustment collar, drive head, and socket. Some models include a ratchet selector or release button.
Read the procedure guide or component instructions. Confirm the value and unit, such as N·cm. Small mistakes matter.
Select the correct driver for the connection. Insert it fully until the locking mechanism engages. An almost-correct fit is not reliable.
Keep the driver fully seated and aligned with the component’s central axis. Apply slow, steady pressure. Narrow posterior areas can make alignment difficult.
Stop turning immediately after the signal. Additional force may damage the connection or affect component stability. Stop there.
Look for worn markings, corrosion, damaged threads, debris, or a stiff mechanism. Check the calibration record and clean the instrument properly.
Stop using it and report it for inspection. Do not compensate with stronger pressure. I sometimes trust a clean-looking tool too quickly, which is a useful warning.
A Dental Torque Wrench is a precision instrument used to tighten dental components to a controlled force. Before use, identify the wrench, its adjustment mechanism, scale, driver, and locking features. Confirm that the driver fits the implant component, abutment, or restorative screw, and always follow the applicable manufacturer’s instructions. Select the torque value specified for the procedure, checking the scale carefully and avoiding assumptions based on similar components.
Attach the correct driver securely and position it straight over the connection. Apply steady, slow pressure without jerking or extending the handle, stopping when the wrench reaches its preset value. Do not continue tightening after the release or click indicates that the torque has been achieved. Finally, verify that the component is fully seated and stable, then inspect the wrench for residue or damage. Clean and process the instrument according to approved clinical procedures, and store it safely to help preserve its accuracy and performance.